 Hi there, gardeners!
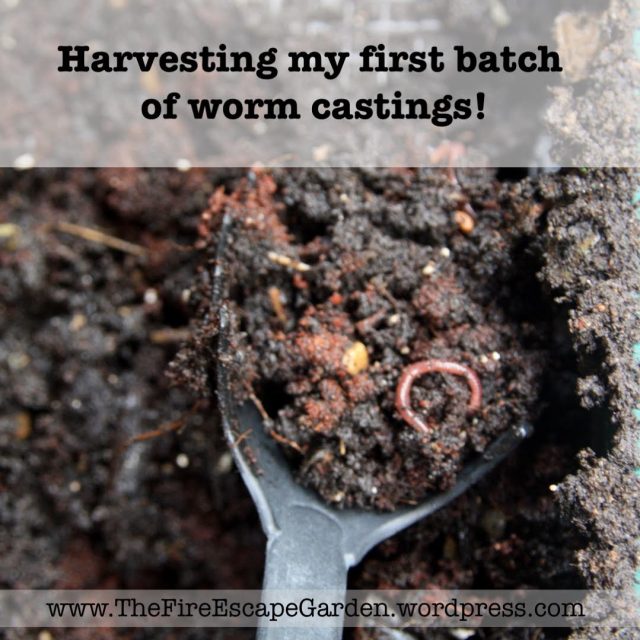
Today was a big day for me: I finally got to harvest my first tray of vermicompost (aka worm castings)! It actually took much less time than I expected, and I peeked into the second tray to see that it’s 95% done, too.
I bought a 5-tier VermiHut worm bin and set it up this April. The principle is quite simple: you start with just one tray with the worms (I started with about 150 red wigglers) and a bit of worm substrate (I used a peat block that came with the setup), gradually fill it with food waste and “brown material” (shredded dry leaves, dry grass, black and white newspaper, peat or brown paper; I use the latter two) at a 1:1 ratio, and add on new trays as the bottom one gets full. The trays have a sieve-like bottom, and when the worms are done processing the lower tray, they gradually move up through those holes and into the next tray. The tower also has a spigot at the bottom that allows to drain the excess liquid (also known as vermicompost tea), which is a wonderful fertilizer.

I have already been using the compost tea for about a month now, and was fairly sure that the first tray of castings is ready, but my time in the garden was dedicated almost entirely to anti-squirrel defense…

But today was the day! So I lifted off all trays except the lower one and discovered a batch of black goodness inside, with an occasional twig or cherry pit (these obviously take much longer to decompose).
 There were a few worms lingering in this tray, so I transferred them to the next one.

The empty tray goes on top of the tower now.

Some worms choose to go down, instead of up, this is why you need to line the bottom of the bin (under the bottom tray) with a cheesecloth to prevent those escapees from drowning in their own vermicompost tea.

The stack of trays returns to its place on top of the base.
 And the packing paper I worked on top of will be used as “brown material” in future batches.
 I took today’s harvest to my community garden plot (it needs it!).
 It still amazes me that this batch went from raw food scraps (I only began incorporating Bokashi fermenting on the second tray) to ripe black vermicompost in less than three months! Those worms are such hard workers!
What method do you use to reduce food waste?

Pingback: Lessons from the balcony: mid-summer – The Fire Escape Garden
Biodegradable bags are the best solution for food waste. These bags and liners provide an effective barrier against bacteria, viruses, and spores. Compost, made from your leftovers, returns essential nutrients to the earth. Biobag helps to save mess, time and money
LikeLike
Thank you for the info
LikeLike
Biodegradable bags are the best solution for food waste. These bags and liners provide an effective barrier against bacteria, viruses, and spores. Compost, made from your leftovers, returns essential nutrients to the earth. Biobag helps to save mess, time and money
LikeLike
That is an excellent turn-around! We make standard compost, but do have to wait longer. And the result is not so refined, which is fine for the raised veg beds, but wouldn’t be so good for pots. I love the satisfaction of putting back into the soil like this.
LikeLiked by 1 person
Agreed! I enjoy giving back to the soil!
I’d actually prefer to do regular compost, even though it takes longer to mature, since it’s definitely more hands-off. The problem is, only having a balcony and a plot in a local community garden, I don’t have the space for a compost pile 😦 University of Pennsylvania used to host a place called The Dirt Factory, where you could take your kitchen scraps, and then get back mature compost (for free!!!), but it has been temporarily closed for bureaucratic reasons… So a worm bin was pretty much my only option to process kitchen waste. I love the speed of vermicompost production (especially combined with Bokashi fermentation), but I constantly have to worry about the worms’ well-being. For example, the summer heat is too much for them to handle without escaping in the ground (which the balcony does not have, obviously), so now I place frozen ice packs daily in the bin to cool it down. Still, a worm bin is a great option for space-challenged gardeners!
LikeLike